
Flovent Inhaler Cleaning Instructions: Keeping Your Asthma Inhaler Safe
Inhalers like Flovent play a key role in asthma management. For many people in the United States, Flovent helps them breathe easier and live healthier. But like any medical device, it needs to be taken care of. If you’re using Flovent daily, knowing the Flovent inhaler cleaning instructions is essential. Cleaning your inhaler the right way ensures that the medication is delivered effectively every time.
This article will guide you through every step of the cleaning process. It will also explain why cleaning is important, how often to do it, and what mistakes to avoid.
Why Cleaning Your Flovent Inhaler Is So Important
Inhalers are tools you put in your mouth and breathe through. That means bacteria, dust, and residue can easily build up. Over time, this buildup may block medication or even cause infections. If the mouthpiece is dirty, your dose might be incomplete. Worse, you could inhale mold or bacteria.
Flovent is used for daily asthma control. That means your inhaler works hard every day. So keeping it clean helps it keep working. Learning the proper Flovent inhaler cleaning instructions ensures you get your medication safely and effectively.
Understanding the Parts of a Flovent Inhaler
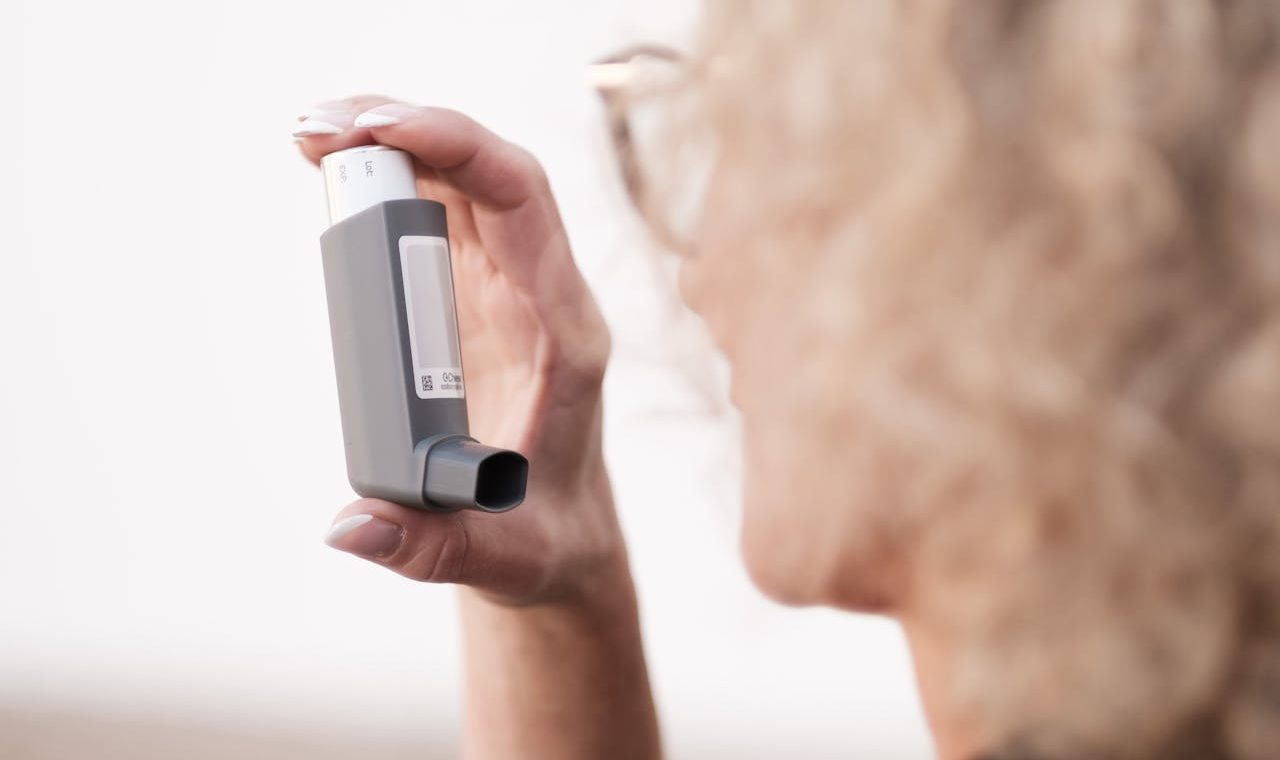
Before you clean your inhaler, it helps to know what you’re working with. The Flovent HFA inhaler has two main parts:
- The Canister: This holds the medicine and releases a dose when pressed.
- The Actuator: This is the plastic part with the mouthpiece. You press the canister into this part to use it.
The metal canister should never be submerged in water. Only the actuator should be washed.
Flovent Inhaler Cleaning Instructions: Step-by-Step
Let’s go over the full cleaning process. This should be done at least once a week, and possibly more often if you notice buildup or stickiness.
1. Remove the Canister
- First, take off the orange cap from the mouthpiece.
- Gently pull the metal canister out of the plastic actuator.
- Set the canister aside on a clean towel or napkin.
Important: Never put the canister in water. It can become damaged and stop working.
2. Clean the Plastic Actuator
- Rinse the actuator under warm running water.
- Make sure water runs through the mouthpiece to remove any buildup.
- Gently shake the actuator to remove extra water.
At this point, you’ve completed the core of the Flovent inhaler cleaning instructions. It’s simple, but very important.
3. Dry the Actuator Thoroughly
- Let the actuator air dry completely.
- Place it on a clean towel, mouthpiece side down.
- Do not use a hair dryer, microwave, or other heat source.
The actuator must be totally dry before putting the inhaler back together. If moisture remains, it can affect medication delivery or grow bacteria.
4. Reassemble the Inhaler
- Once dry, place the canister back into the actuator.
- Press it down firmly until it fits snugly.
- Replace the orange cap.
Now your inhaler is clean, dry, and ready to use.
How Often Should You Clean Your Flovent Inhaler?
You should clean it once a week at a minimum. If you notice the spray is weaker than normal, or if the inhaler feels sticky, clean it again.
Some people clean their inhaler every few days, especially in dusty environments or during allergy season. If you are sick or coughing a lot, cleaning more often is a good idea.
Regularly following the Flovent inhaler cleaning instructions helps maintain consistent results.
What Happens If You Don’t Clean It?
If your inhaler isn’t clean, the spray can get blocked. You might think you’re getting your full dose, but you aren’t. That could lead to asthma flare-ups or more serious breathing issues.
Other risks include:
- Mouth infections from bacteria on the mouthpiece.
- Incorrect dosages due to buildup in the spray nozzle.
- Device failure, causing the medication to stop working.
The small time it takes to follow the Flovent inhaler cleaning instructions can prevent these problems.
Tips for Keeping Your Inhaler Clean
Use a Case or Pouch
Keeping your inhaler in a clean bag or case prevents dust and dirt from getting into the mouthpiece. This helps reduce how often you need to clean it.
Keep the Cap On
Always replace the orange cap when you’re done using your inhaler. This helps keep lint, crumbs, and other small particles out.
Store It Properly
Avoid leaving your inhaler in high-heat areas like cars. Heat and humidity can affect how the medication is delivered. Store it in a dry, cool place, preferably upright.
Mistakes to Avoid
Many users accidentally make these mistakes. Here’s what to avoid when following Flovent inhaler cleaning instructions:
- Don’t wash the canister. It is pressurized and not designed to get wet.
- Don’t skip drying. Putting the canister back into a wet actuator can clog the nozzle.
- Don’t use harsh soaps. Plain water is enough. Soaps can leave residue behind.
- Don’t share your inhaler. Even if cleaned, sharing spreads germs and isn’t safe.
Signs That Your Inhaler Needs Cleaning
Sometimes, it’s obvious. But other times, the signs are subtle. Here’s what to look for:
- Spray seems weaker or inconsistent.
- You feel residue on your lips after use.
- There’s visible dirt in the mouthpiece.
- The mouthpiece feels sticky.
- You can smell an odd odor from the device.
If you notice any of these, take a moment to review the Flovent inhaler cleaning instructions and give your inhaler a good wash.
Should You Replace Your Inhaler If It Gets Too Dirty?
If cleaning doesn’t help restore proper function, you might need a new actuator. Some people use their Flovent inhaler longer than they should, even if it’s not working well. If the spray seems off, talk to a pharmacist or healthcare provider.
You don’t always need a new prescription. Sometimes, a new actuator can be provided on its own. But either way, don’t ignore issues with spray delivery.
Tips for Parents of Children Using Flovent
If your child uses Flovent, cleaning their inhaler becomes your job. Kids often forget or don’t clean thoroughly. Use a calendar reminder each week. Make it part of their routine, like brushing teeth.
Also, check their technique. Improper use can cause buildup faster. And always keep an extra clean mouthpiece on hand, just in case.
Following the Flovent inhaler cleaning instructions consistently keeps your child safe and ensures their medicine works.
What If the Spray Still Seems Blocked?
If cleaning didn’t help, try these steps:
- Remove and reinsert the canister to make sure it’s properly seated.
- Check for visible buildup inside the actuator.
- Try cleaning again and letting it dry overnight.
If there’s still no spray or it feels weak, the device may be faulty or empty. Contact your pharmacy to check.
Travel Tips for Inhaler Users
When traveling, always bring:
- Your current inhaler.
- A backup inhaler if possible.
- A small case to keep it clean.
- A travel-size pack of tissues for quick clean-ups.
Traveling often leads to skipping routines. So set reminders to follow your regular cleaning schedule. Keeping your inhaler clean while on the road is just as important.
Final Thoughts
A clean inhaler is a reliable inhaler. Whether you’re using Flovent for asthma or another condition, the small act of cleaning makes a big difference. It protects your lungs, keeps your medication working, and ensures every dose is accurate.
Following the Flovent inhaler cleaning instructions once a week, or more when needed, is one of the simplest ways to stay on top of your health. It’s quick, easy, and doesn’t require special tools.
Your inhaler helps you breathe. Return the favor by keeping it clean.
Summary Checklist: Flovent Inhaler Cleaning Instructions
- ✅ Remove the canister
- ✅ Rinse the actuator with warm water
- ✅ Shake off water and let dry completely
- ✅ Reassemble only when dry
- ✅ Clean once a week or more if needed
- ✅ Store with cap on in a cool, dry place
Stick to these Flovent inhaler cleaning instructions, and your inhaler will stay ready to help whenever you need it most.